IoT One Cloud runs on almost any linux build, however to make things easy and have a lower footprint on memory, we are going to go with Raspbian Stretch Lite. This will require us to install some necessary software, but this is the operating system we have spent the most time working and developing with. Other guides will be made available as we expand. You can get the image of Raspbian Stretch Lite from here as a zip file.
Once you have downloaded the SD card image, we recommend obtaining a free program called Etcher available for all operating systems. It will burn and test any image to an SD card, saving you precious time for setting up partitions and other necessities for a Linux operating system.
Most Raspberry Pis have an HDMI or MiniHDMI port on them that you can plug into a monitor or a TV. Almost any USB keyboard will function with the Raspberry Pi as long as they do not drain too much power. Insert your SD card into the slot, then plug the monitor and keyboard in. Be sure the monitor is turned on before you plug in the USB cable to the Raspberry Pi so it can accept handshaking. After a few moments, you should be presented with a login screen.
Once you start the Raspberry Pi, the operating system will be unpacked and you will be presented with a login screen. The default login is as follows: username: pi password: raspberry
once logged in, you will need to set a few things using the raspi-config utility.
sudo raspi-config
The first thing to recommend is to change your password by choosing option 1. This is essential to securing your raspberry Pi device.
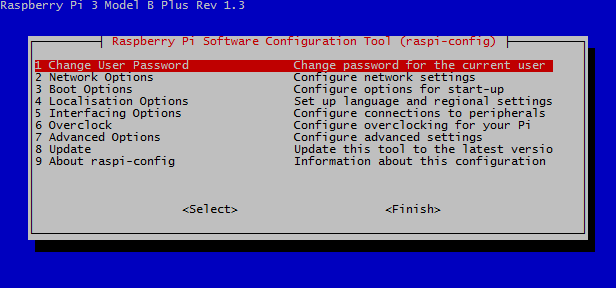
Follow the prompts and set your new password.
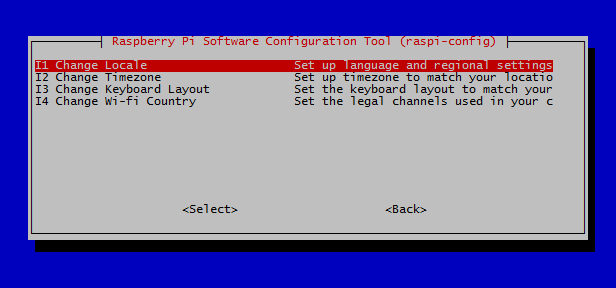
Once that is changed, you should now change the Localization options, doing this sets the region you are in for interference compliant Wi-fi. Note that Wi-fi will be disabled until you select a region. Select Localization Options, and then option 4, Change Wi-fi Country
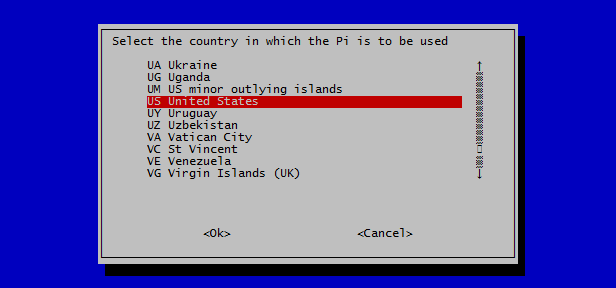
Now select the country you are in. You can type the first letter of the country to skip through a lot of scrolling.
Once this is set, go into the Wi-fi configurations under Network Configuration. Here you can input the SSID and Pre-shared Key of your local network to connect.
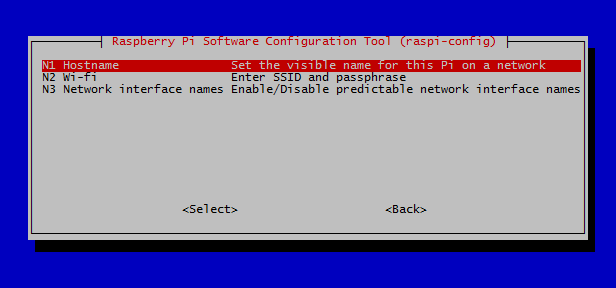
Remember that PSK and SSID are case sensitive!!
If you wish to work on your Raspberry Pi without having to connect a monitor and keyboard, you can enable the SSH server to use that protocol. To do this, go into the Interfacing options, selection 5
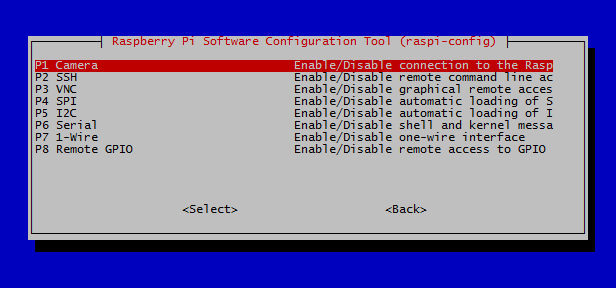
Select SSH, and enable the server.
To connect to the Raspberry Pi from your local network, first boot up the machine. Then from a linux computer, or Console on a mac, or a PowerConsole like Cygwin on a windows machine, use the following command:
ssh username@192.168.0.0
Where username is the name you want to login under (in our case the only user is pi), followed by the IP address of the raspberry pi. You will be prompted for a password, and then you will have logged in. It will look just the same as if you’re controlling the Raspberry Pi Directly!
Note
You can use ifconfig to see the IP of the Raspberry Pi.
As you probably saw if you setup SSH, I2C, Remote GPIO, and 1-wire interfaces can be enabled from the raspi-config utility. If you plan on using devices on those protocols, it is suggested you turn them on at this time.
Now it’s time to install the required software before setting up IoT One Cloud, luckily this is done very easily!
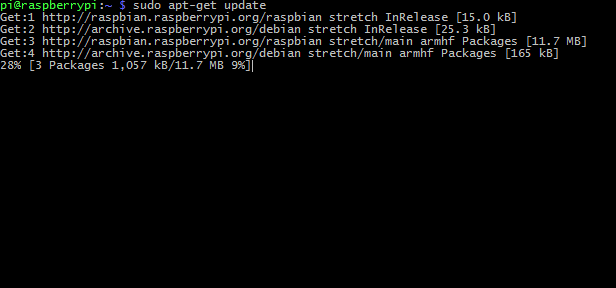
First, lets update the apt-get program, in case there are some new URLs and packages we need. To do this, run the following:
sudo apt-get update
sudo apt-get upgrade
Next lets install Java on the Pi. We recommend using Oracle Java v8. This can be accomplished by using the following command
sudo apt-get install oracle-java8-jdk
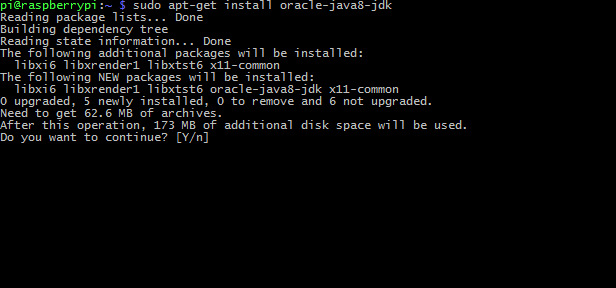
Type "y" to install the program and wait for apt-get to do it’s thing.
Once it’s finished, type java -version to test that it installed correctly. You should get a message like
java version "1.8.0_65"
Java(TM) SE Runtime Environment (build 1.8.0_65-b17)
Java HotSpot(TM) Client VM (build 25.65-b01, mixed mode)
We use some libraries from the Pi4J project to connect Java with the GPIO pins. This must be installed for any devices that plan to use a GPIO pin, like a switch or an LED.
curl -s get.pi4j.com | sudo bash
This installs the pi4j libraries on your raspberry Pi. Once installed, you can upgrade using the following command:
pi4j --update
IoT one Cloud can find this library automatically, no need to worry about installation location.
IoT One Cloud uses the WiringPi numbering system which is also required to be installed onto your system in order to access GPIO pins. Some distributions have this pre-installed. To find out if it is, run the following command:
gpio -v
If you get an error like this:
-bash: gpio: command not found
Continue with the next steps.
Although this takes a few more steps to compile and install, it’s still fairly easy. From the command prompt, install git-core to your system:
sudo apt-get install git-core
Now use git to obtain the WiringPi source
git clone git://git.drogon.net/wiringPi
This will download the source into the /wiringPi folder. Once it is finished, go into that folder and verify that you have the latest version, and then compile.
cd wiringPi
git pull origin
./build
Once this is done, your required libraries are setup, we recommend a reboot at this time before you begin the next steps.
sudo reboot