Tigase XMPP Server can also work on Microsoft Windows systems and servers, although some slight modifications may be necessary to get things ready to run.
Although you may wish to use command line, take note that commands entered in shell may require quotations in some cases.
Make sure that you have Java JDK v8 installed on your system prior to installing Tigase. It will also help to fully setup whatever database software you will be using as well.
Download the Tigase XMPP Server archive from our repository and extract it to a directory of your choice.
Once that is completed, enter the directory win-stuff and run the setup.bat program. This program when run, will extract the necessary files to appropriate places on your computer. The bat file should look like the following:
copy "tigase.ico" "..\"
copy "wrapper\wrapper.jar" "..\jars"
copy "wrapper\wrapper.dll" "..\jars"
copy "wrapper\wrapper.exe" "..\"
copy "wrapper\wrapper.conf" "..\"
copy "wrapper\wrapper-community-license-1.2.txt" "..\"
copy "scripts\*.*" "..\"
To start the server you may use a command prompt from the installation directory
java -cp "jars/*" tigase.server.XMPPServer
Note
this may freeze the command window, and will only display output from Tigase.
Or you may run wrapper.exe or tigase.bat from the GUI.
The cleanest way to operate Tigase in a Windows environment is to install Tigase as a Service by running the InstallTigaseService.bat program. This will install Tigase as a system service, and now the server can be controlled from the services.msc panel. This allows for stopping, starting, and pausing of Tigase XMPP Server and allowing for graceful shutdowns.
For a basic installation, MySQL is recommended over Derby DB. For that purpose, we have included a basic installation guide for MySQL on Windows systems here:
The section describes installation and configuration of the MySQL database to work with Tigase server.
Download the binary package from MySQL download area at mysql.com. Make sure you select executable proper for your operating system.
Run the installation program and follow default installation steps. When the installation is complete find the MySQL elements in the Windows Start menu and run the MySQL Configuration Wizard. Follow the wizard and make sure to check settings against the screenshots in the guide below.
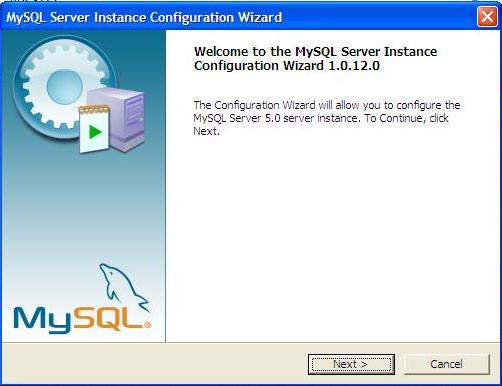
In Welcome window just press 'Next'.(pic.1)
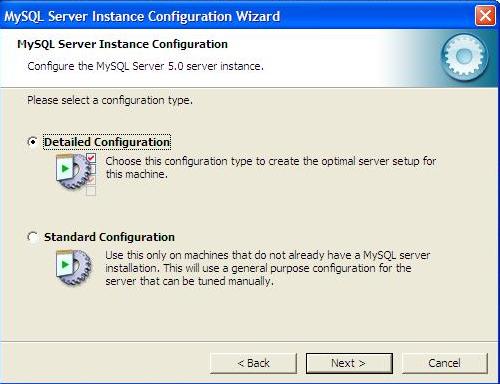
In the next window select option: 'Detailed Configuration' and press 'Next' (pic. 2)
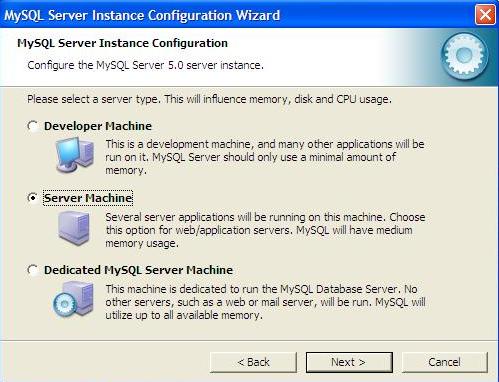
On the next screen select option: 'Server Machine' and press 'Next' (pic. 3)
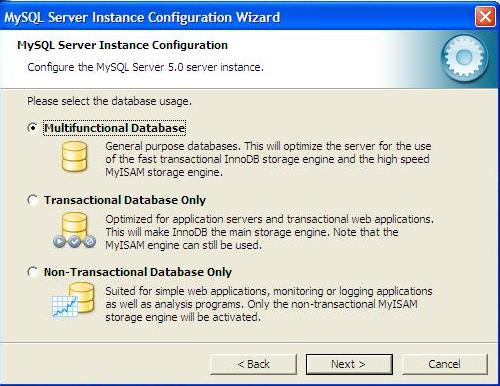
On the forth windows leave the default" 'Multi-functional Database' and press 'Next' (pic. 4)
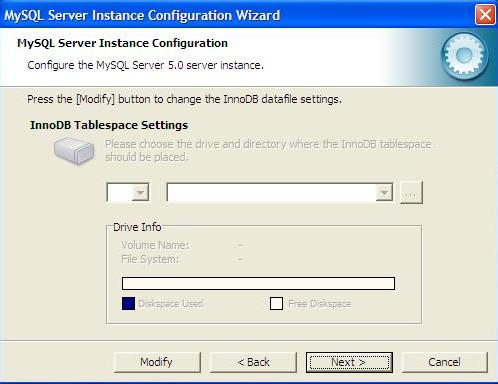
On the step number five just press 'Next' using defaults. (pic. 5)
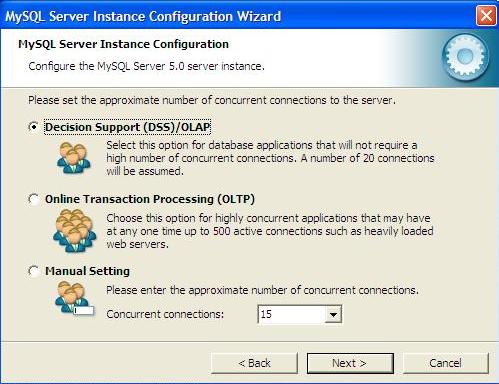
Again, on window 6 select the default - 'Decision Support (DSS)/OLAP' and press 'Next' (pic.6)
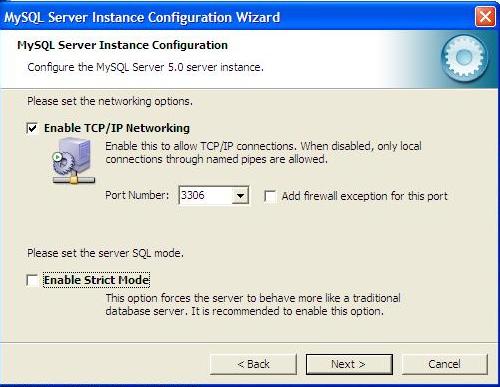
Make sure you switch OFF the 'Strict mode' and and press 'Next' (pic. 7)
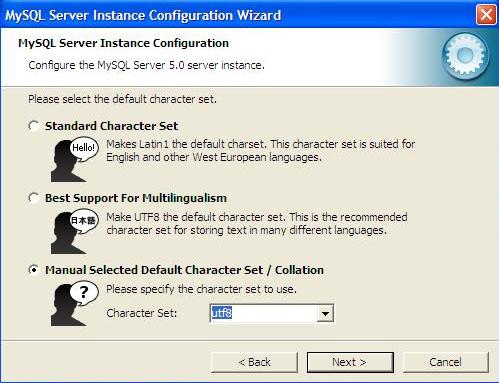
On the character encoding page select: 'Manual Selected Default Character set/ Collation' and 'utf8', press 'Next' (pic.8)
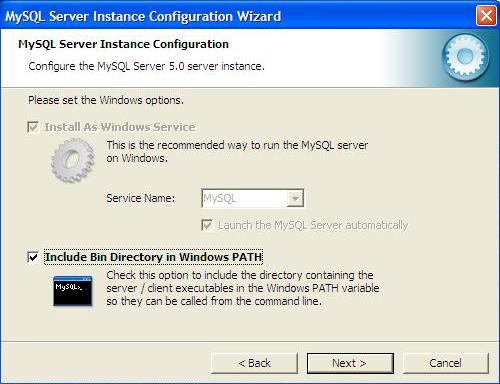
On next window select 'Include Bin Directory in Windows PATH' and press 'Next' (pic.9)
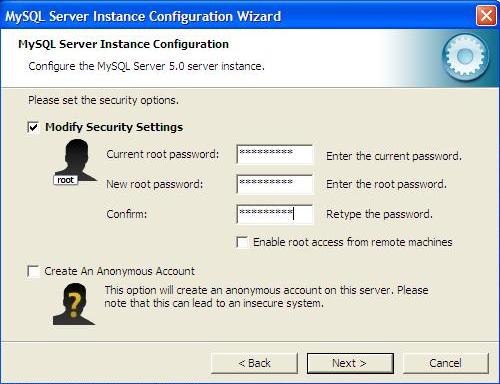
On this window just enter the database super user password and make sure you remember it. When ready press 'Next' (pic. 10)
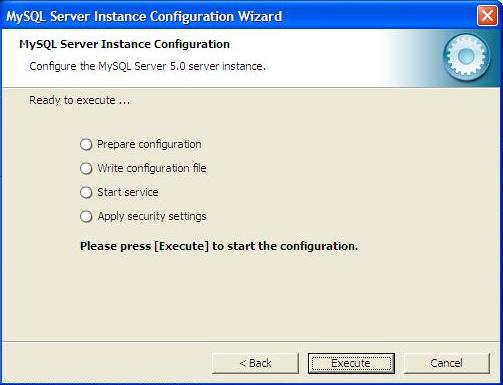
This is the last screen. Press 'Execute' to save the configuration parameters. (pic. 11)
When the configuration is saved you can repeat all the steps and change settings at any time by running: START ⇒ Programs ⇒ MYSQL⇒ MYSQL serwer machine⇒ MySQL Server Instance Config Wizard
Now we have to setup Tigase database. From the Start menu run the MySQL console and enter all commands below finishing them with <ENTER>:
Create the database:
mysql>create database tigasedb;
Add database user:
mysql> GRANT ALL ON tigasedb.* TO tigase_user@'%' IDENTIFIED BY 'tigase_passwd';
mysql> GRANT ALL ON tigasedb.* TO tigase_user@'localhost' IDENTIFIED BY 'tigase_passwd';
mysql> GRANT ALL ON tigasedb.* TO tigase_user IDENTIFIED BY 'tigase_passwd';
mysql> FLUSH PRIVILEGES;
Load Tigase database schema:
mysql> use tigasedb;
mysql> source c:/Program Files/Tigase/database/mysql-schema.sql;
When the system is up and running you can connect with any XMPP client (Psi for example) to your server to see if it is working.