When Tigase XMPP Server starts up, it looks for the default configuration file: etc/config.tdsl. If this file has not been modified you can run the web installer. Which will step you through the process of configuring Tigase.
If you are installing Tigase in a Windows environment, please see the Windows Installation section.
First download Tigase XMPP Server and extract it. You can download the official binaries, or the latest and greatest nightly builds. Once you have the distribution binary extract it and navigate to the directory:
$ tar -xf tigase-server-<version>-dist-max.tar.gz
$ cd tigase-server-<version>
Tip
Do not run as root user!
Note
Please make sure JAVA_HOME is set and points to your JVM installation
scripts/tigase.sh start etc/tigase.conf
Tigase should start listening on port 8080 - you can check it using lsof command:
$ lsof -i -P
COMMAND   PID   USER   FD   TYPE   DEVICE SIZE/OFF NODE NAME
java    18387 tigase  141u  IPv6 22185825      0t0  TCP *:8080 (LISTEN)
You can also check console log under logs/tigase-console.log, which should point you directly to the installer.
Some points before you can connect:
This setup page is restricted access, however for first setup there is a default account set to setup Tigase:
Username: admin
Password: tigase
This combination will only be valid once as it will be removed from config.tdsl file on completion of setup process. After this point the setup page will only be accessible using the following:
- JID accounts listed as administrators in admins line in
config.tdslfile. - Username and password combinations added to
config.tdslfile manually, or at the last page in this process.
Point your browser to http://localhost:8080/setup/ unless you are working remotely. You can also use the domain name, or IP address.
Enter the username and password above to gain access.
You will be greeted by the following "About software" page.
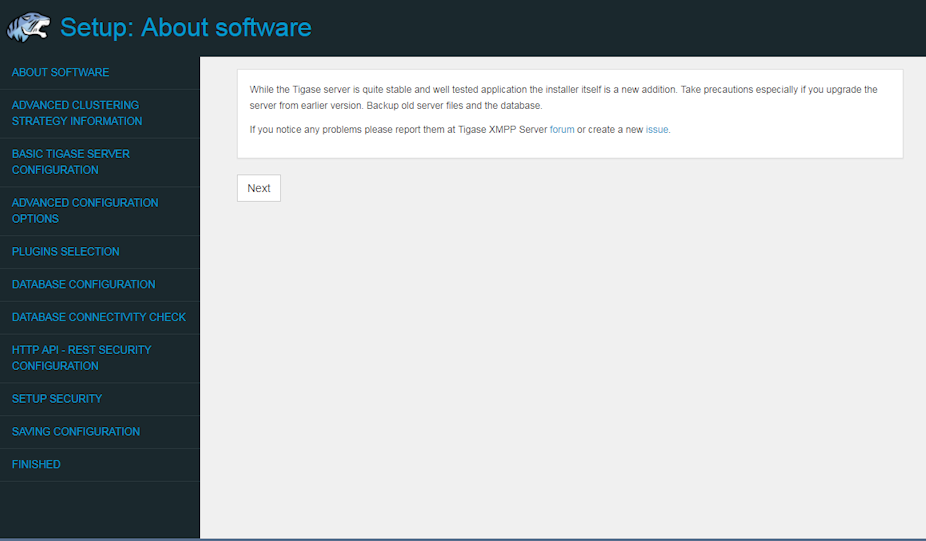
Read it and then click "Next"
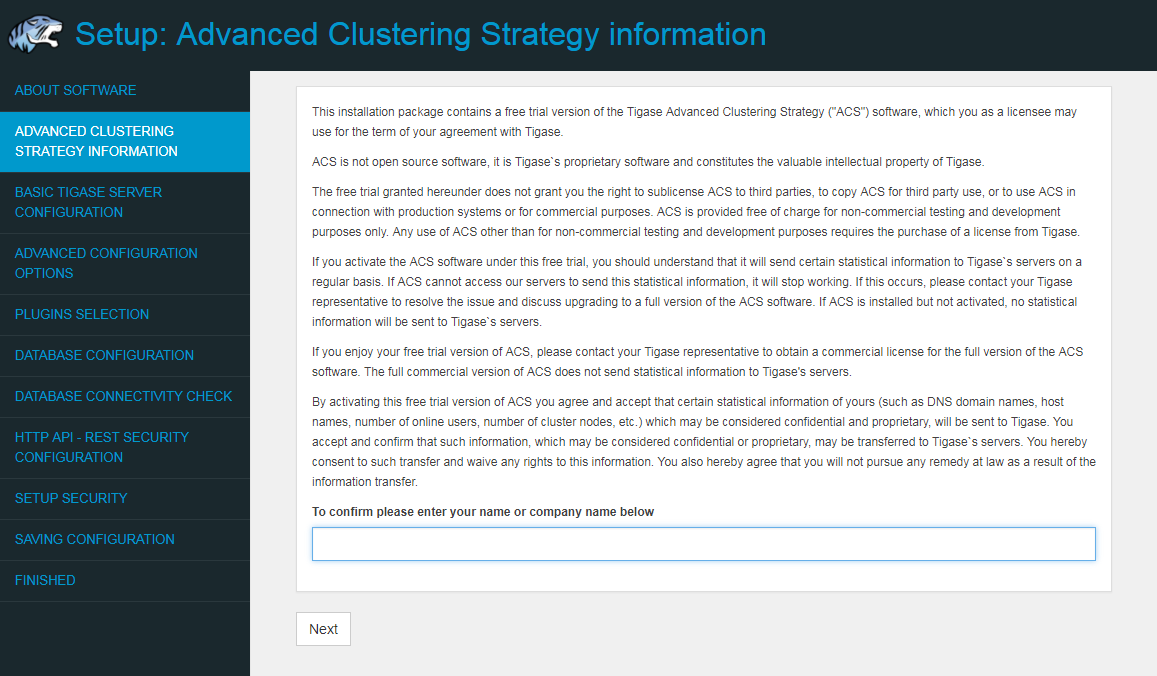
Here is some information about our commercial products and licensing. Please read though the agreement, type in your name or company and click "Next".
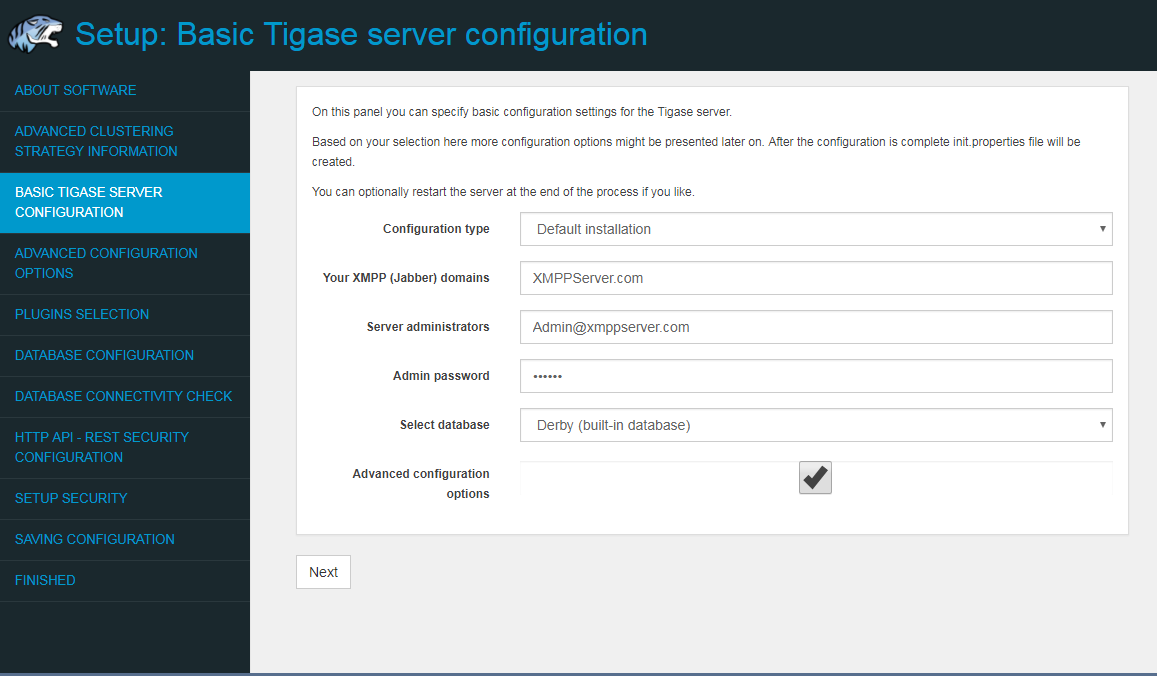
This page will look over your basic configuration settings, these include the server type, domains you wish to use, and gives you a chance to specify an administrator for the domain. Also, you will be selecting what type of database Tigase server will be using (configuration comes later). If you do not specify an administrator and password, one is made for you, which will be admin@yourdomain and password is tigase. If you wish to configure your server beyond the basics, check Advanced configuration options.

The Advanced configuration page. Select what components and configurations you need. Some may be highlighted red to indicate conflicts or unmet requirements.
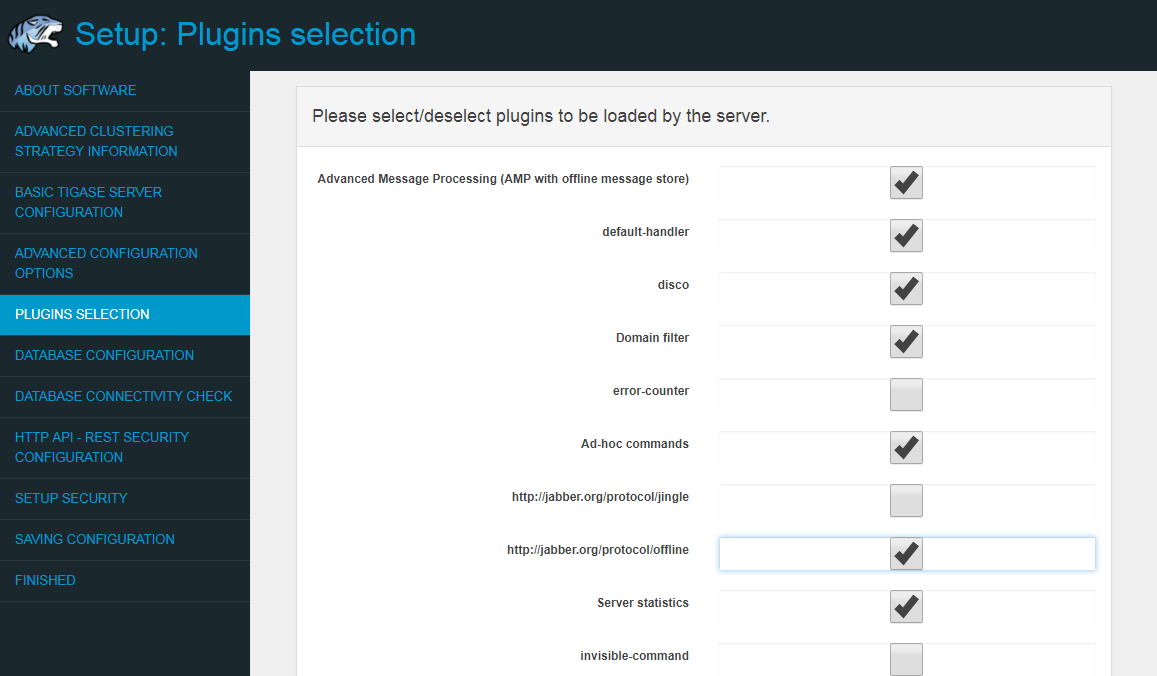
Plugins which will be loaded by the server, most plugins are enabled by default. Some may be highlighted red to indicate conflicts or unmet requirements.
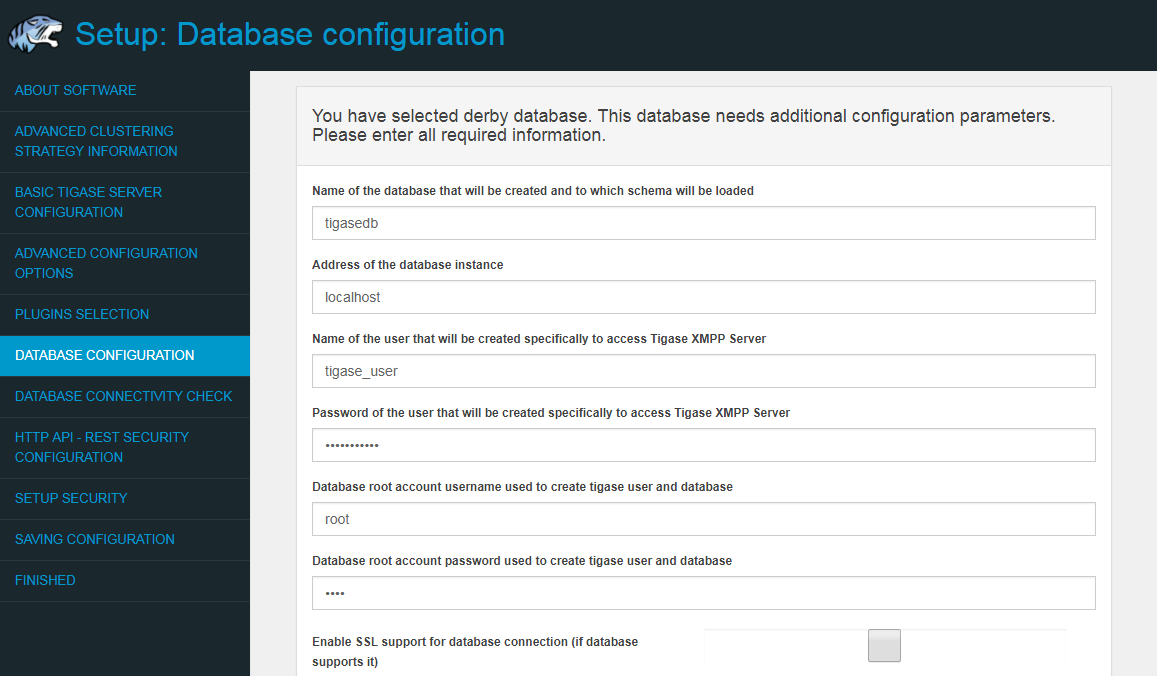
This is where the database is setup. The type of database selected in step 3 will influence available options. BE SURE TO SPECIFY DATABASE ROOT USER ACCOUNT AND PASSWORD
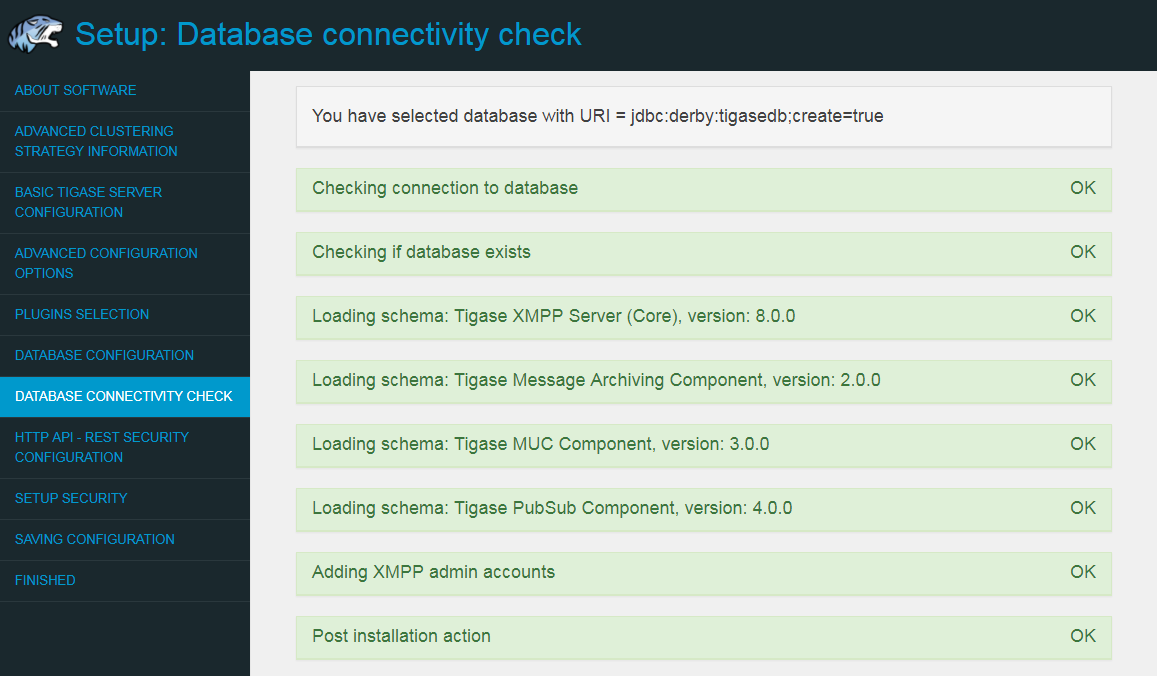
You should see a page like this after a successful database setup. This page will reveal any issues with your database setup such as invalid URIs, passwords, and schemas. You may hit Back on your browser to check credentials and settings and try again.
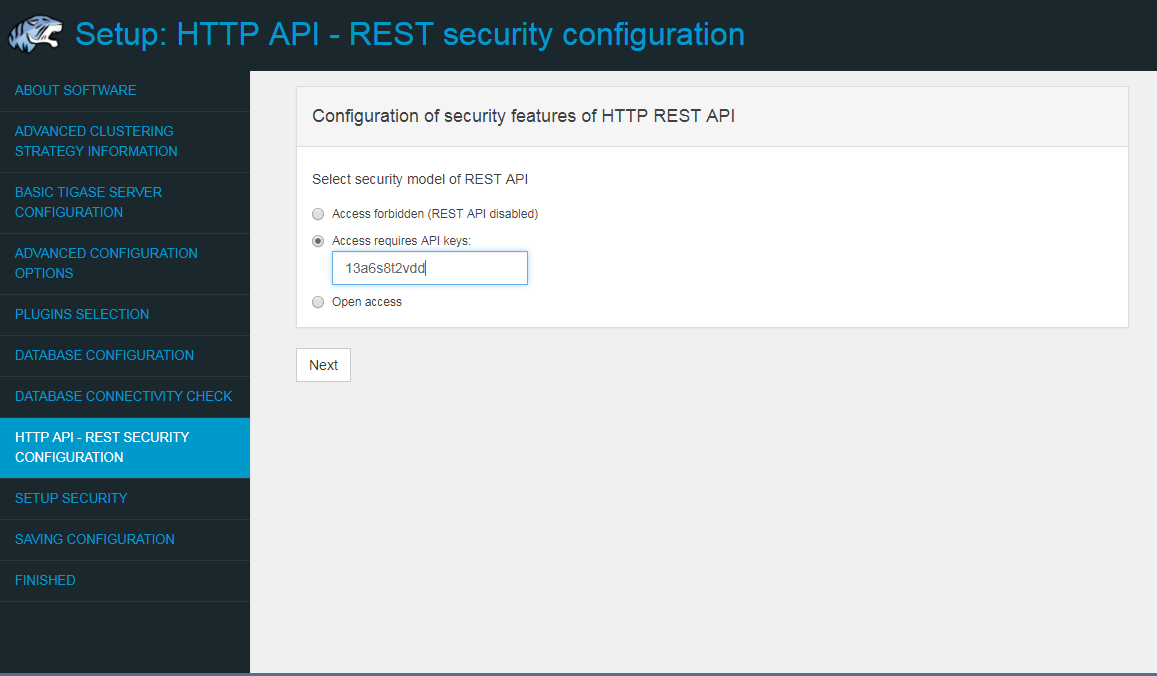
Next a page asking if you’d like to provide an API Access Key to access HTTP REST commands. It is highly recommended that you either specify an API key or block access. Open API keys allow any REST command to be interpreted by the server.
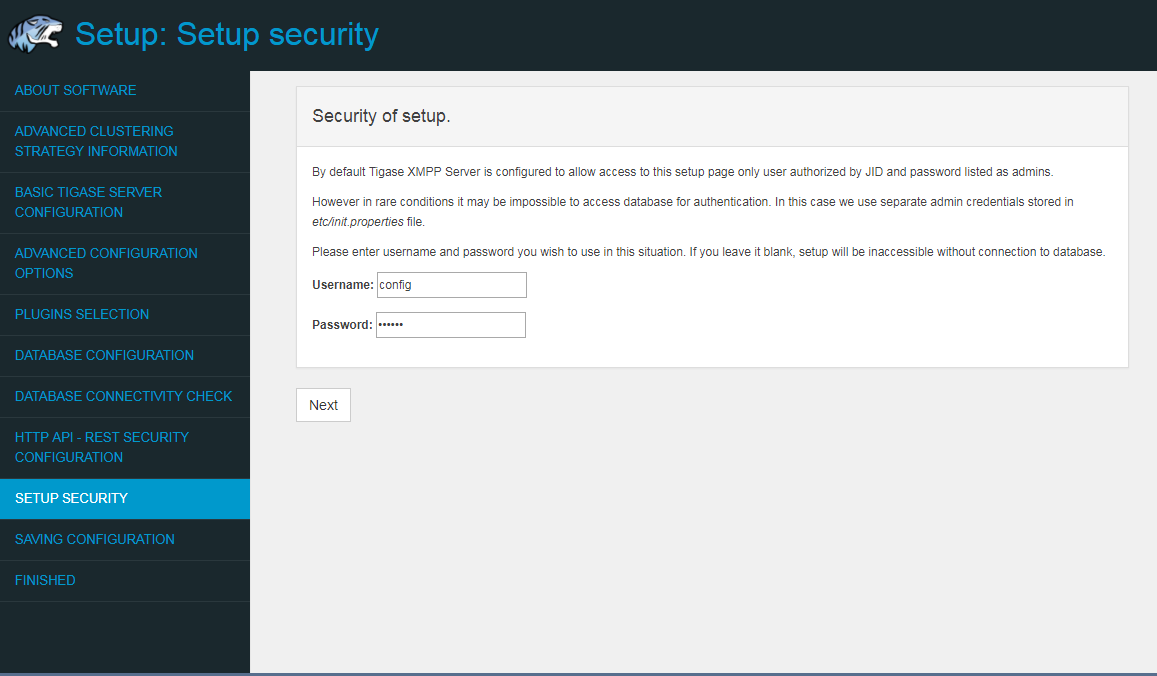
The Setup Access Page will be locked from the admin/tigase user as specified above. This is your chance to have the setup pages add a specific user in addition to admin accounts to re-access this setup process later. If left blank, only JIDs listed in admin will be allowed to access.
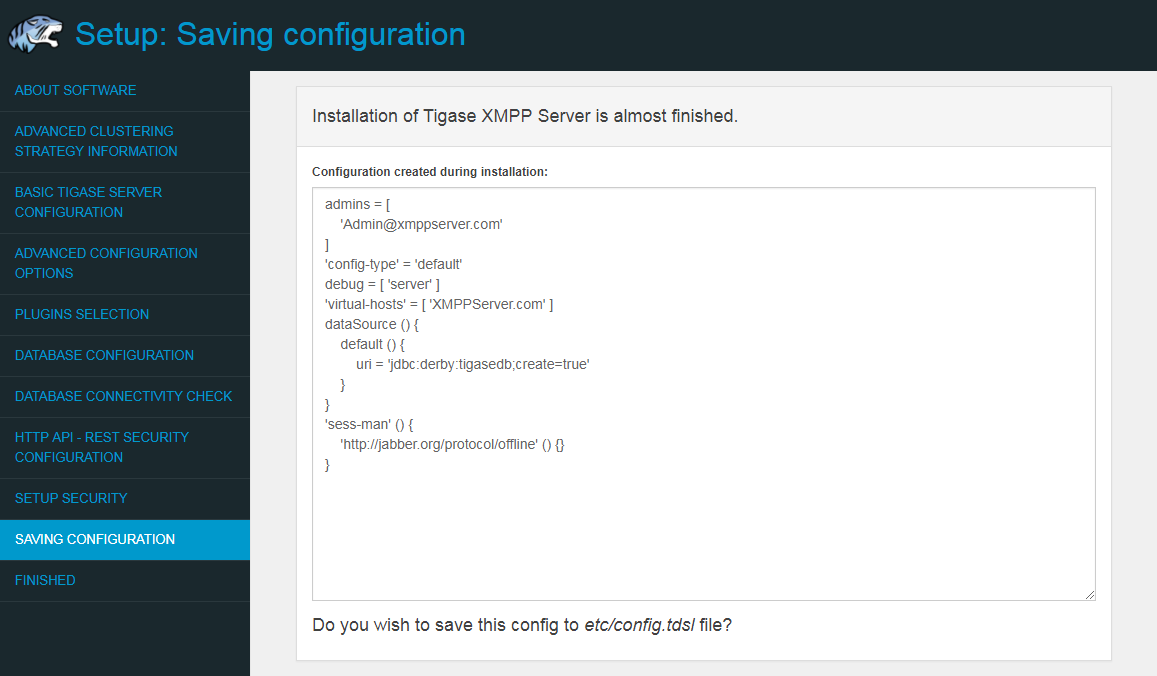
The installation is complete and this is what the config.tdsl file will look like.
If you have a custom setup, or would like to put your own settings in, you may copy and past the contents here to edit the current config.tdsl file.
Click "Save" to write the file to disk.
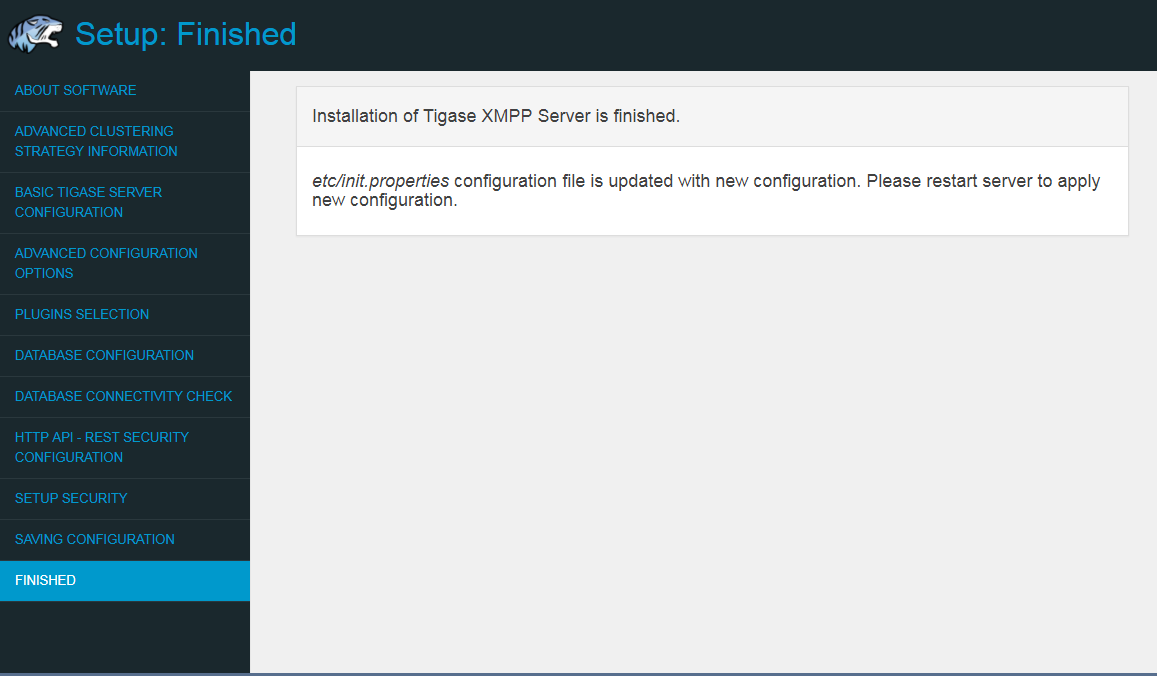
You have now finished the installation, proceed to the next step to restart the server.
It is recommended at this point to stop the server manually and restart it using the proper script for your OS. From the Tigase base directory enter
./scripts/tigase.sh stop

./scripts/tigase.sh start etc/tigase.conf
Note
In order to make Tigase XMPP Server start automatically during system startup you should setup startup scripts as described in the section called “Tigase Script Selection”
To further fine tune the server you should edit etc/tigase.conf. Ensure JAVA_HOME path is correct, and increase memory if needed using JAVA_OPTIONS -Xmx (max), and -Xms (initial). You will need to direct Tigase to read settings from this file on startup as follows.
Everything should be running smooth at this point. Check the logfiles in logs/ if you experience any problems.
You should see a list of listening ports.
$ lsof -i -P
COMMAND   PID   USER   FD   TYPE   DEVICE SIZE/OFF NODE NAME
java    18387 tigase  141u  IPv6 22185825      0t0  TCP *:8080 (LISTEN)
java    18387 tigase  148u  IPv6 22185834      0t0  TCP *:5222 (LISTEN)
java    18387 tigase  149u  IPv6 22185835      0t0  TCP *:5223 (LISTEN)
java    18387 tigase  150u  IPv6 22185836      0t0  TCP *:5290 (LISTEN)
java    18387 tigase  151u  IPv6 22185837      0t0  TCP *:5280 (LISTEN)
java    18387 tigase  152u  IPv6 22185838      0t0  TCP *:5269 (LISTEN)
There are a few steps involved with setting up Tigase with the web installer in a Windows environment. Please follow this guide.
First step is to extract the distribution archive in it’s entirety to the intended running directory. Once there, run the Setup.bat file inside the win-stuff folder. This will move the necessary files to the correct folders before Tigase begins operation.
From here, you have a few options how to run Tigase; run.bat will operate Tigase using a java command, or tigase.bat which will start Tigase using the wrapper. You may also install Tigase and run it as a service.
One this setup is finished, web installer will continue the same from here.