1. Tigase Messenger User Guide
Tigase Messenger for Android is a mobile chat client to use with XMPP services and servers. The totally revamped v3.0 now has new features, a better design, and Google integration. Tigase Messenger for Android supports any XMPP server, from free services like sure.im or Tigase.im, to a server you may host on your own. If you don’t have an XMPP account, you can use Tigase Messenger for Android to register a new account on sure.im, Tigase.im, or jabber.today for free and get chatting!
1.1. Features
- Save Battery Life and DataAutomatically set your status as you use (or don’t) your phone. When your phone is idle your device will not obtain presence information, lowering battery and data use when you are idle. If you are traveling through an area of poor reception, you will only reconnect when you take out your phone.
- Push Message SupportSupport available for push notifications on servers that support Tigase push component. Get messages when device is idle.
- Multiple Account ManagementSupport multiple XMPP accounts at the same time. Selectively turn them on and off to keep things easy.
- Simplified File SharingSupport for Tigase HTTP Upload component, uploading files and share using a URL!
- Google Services IntegrationManage your XMPP accounts with Google accounts management
- Message Archiving SupportGo back through conversations and history, what was that you sent last week? Now you can swipe up and find out!
Welcome to Tigase Messenger v3.0!
1.2. Installation
Open the Play store and search for Tigase.
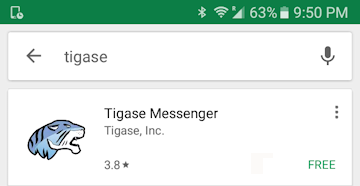
Select Tigase Messenger.
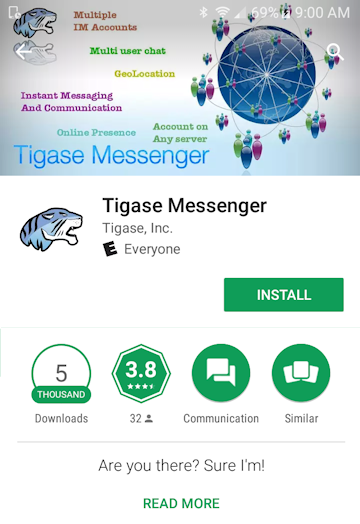
Tap INSTALL.
Let the phone do the rest.
Note
Tigase messenger requires access to files on your device to be able to send files and photos through the messenger.
1.3. Creating an Account
When you first load Tigase Messenger, you will be presented with our logo and a button asking if you have an XMPP account, or to create a new one.
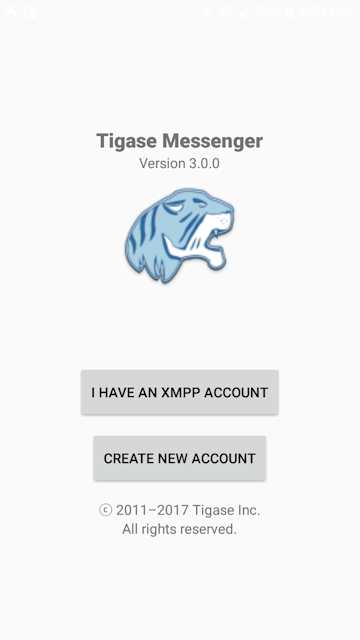
If you select Create an account, you will be taken to the next screen.
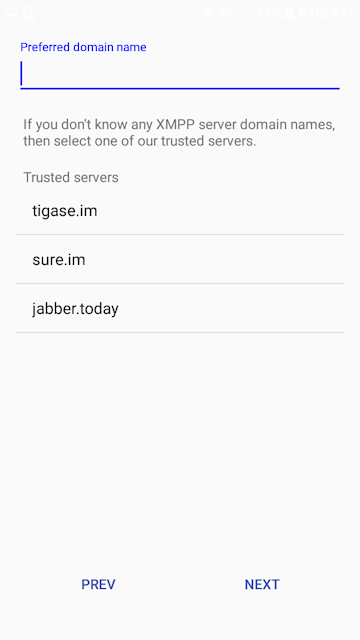
Here, you can register your own XMPP account on a custom domain, or one of the services listed in the application: tigase.im, sure.im, jabber.today.
The application will check for registration compatibility from the custom domain, or other listed ones before continuing to the next step.
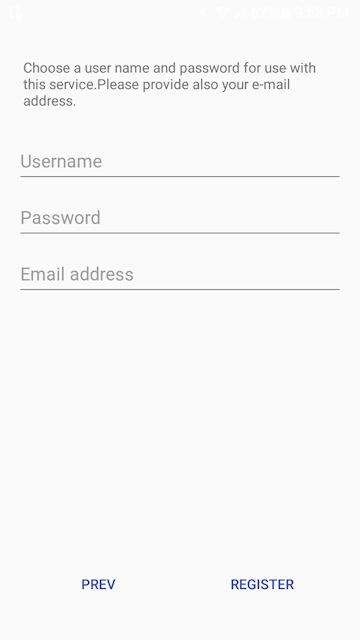
Enter a username and password you wish to use. Note that usernames will be appended with the @domain.com suffix, so if you entered exampleuser at the tigase.im domain, the full username for your XMPP account will be exampleuser@tigase.im.
Also be sure to include a valid E-mail so server administrators, or password reset functionality can reach you outside XMPP.
Once registration is complete, the account will be added to your list of accounts.
1.3.1. Existing Account Login
If you have an existing account on an XMPP Service, tap I have an XMPP account and enter your credential information. The application will test credentials before they are saved to the device. Once the information is saved, you will be returned to the roster screen. You will need to set your status to online to have the application login.
To do so, select the menu option on the top left and select status and then online.
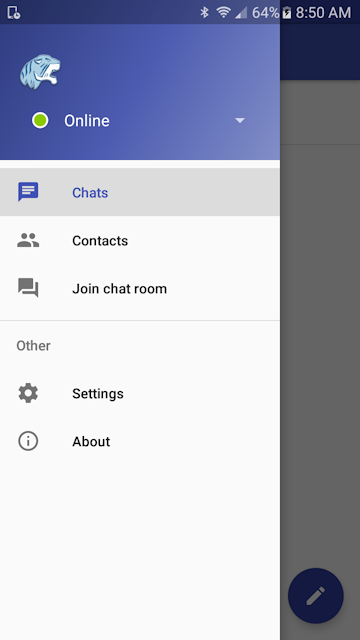
1.4. Main screen menus
These can be opened by tapping the menu icon in the top left.
1.4.1. Online Status
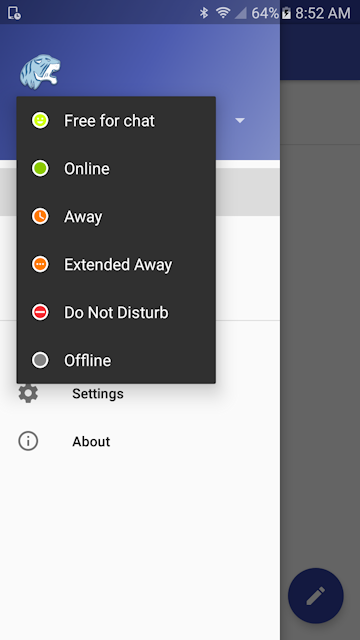
The first section allows you to select your status to let other contacts know if you are online, away, busy etc.. To change status, tap the current status and select one from the pop up list.
Note that if you are offline, other users will be unable to send you messages, and you will receive no notifications.
1.4.2. Chat View
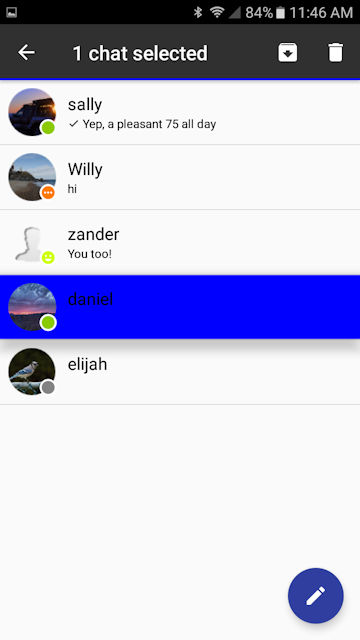
This view will show all your recent chats. All active chats, chats that have not been archived, and any groupchats you are a part of will be listed here.
To close any chat, long-press the chat you wish to remove, and you will have the following shown:
You have two options to select, you may archive the chat by tapping  This will close the chat from this menu, but the chat will be preserved the next time you bring the chat window up from the roster in local storage - handy if message archiving is not enabled on the server you are connected too.
If you just want to remove the chat, and not save it locally, tap  and it will be removed from the device.
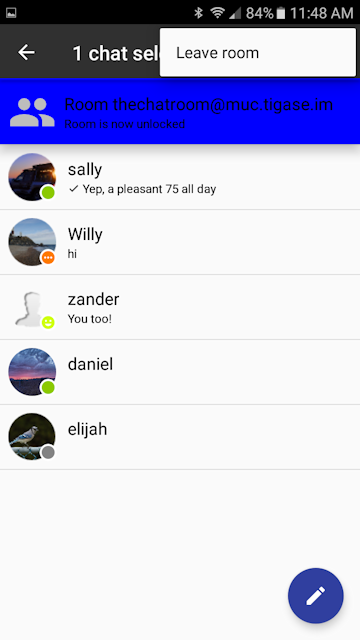
For groupchats, long pressing on the chatroom will provide you for the ability to leave the room after tapping the … icon in the top right.
For a new chat, tapping the compose icon will show you the roster view, from which you can select a user to begin a conversation.
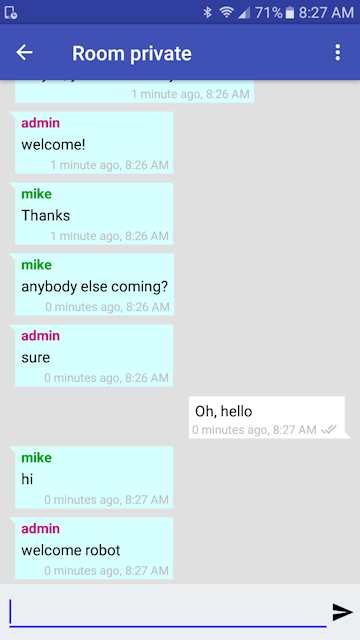
Groupchat View
The groupchat view will display the current conversation, you may scroll and look back on the chat if the server supports it. You may also tap the … icon to send a file to all participants if the server supports it. (If it does not, you will not be able to send a file.)
Note
You will only be able to leave the room from the Chats view.
1.4.3. Contacts view

The roster will show all contacts in your roster retrieved from the server you login from. You will have a combined roster if you have multiple accounts logged in at the same time.
To initiate a chat with a contact, simply tap their contact name.
To add a contact to your roster, tap the “+” button at the bottom right and fill out the appropriate forms. They will be added to your roster and a presence subscription request will be sent to them. Should the user accept your request, they will likely add you back. When that happens, accept the add request when it shows up in your notifications window. Once that happens, their status will be shown in your roster.
vCard data will be obtained from the server, and images displayed on the icons if any is available.
Status indicators
In your roster, users will display a colored circle indicting their status. See the table below to see what each color means.
Icon |
Meaning |
|---|---|
Bright green |
Free for Chat |
Green |
Online |
Orange w/clock |
Away |
Orange w/dots |
Not Available |
Red w/line |
Do Not Disturb |
Contacts Options
Tapping the … on the top right or pressing the menu button on the phone will reveal two options for the contacts screen:
Sort by which allows you to sort the contact list by presence or name. Presences will be organized in the same order as the status table above..
To add a new contact, tap the ‘+’ icon to do so and fill out the username. You may optionally specify a nickname for the new contact, this will be shared on the account so all devices can see it.
1.4.4. Join Chat Room
This section allows you to join a chatroom, or setup a new one if the server supports it.
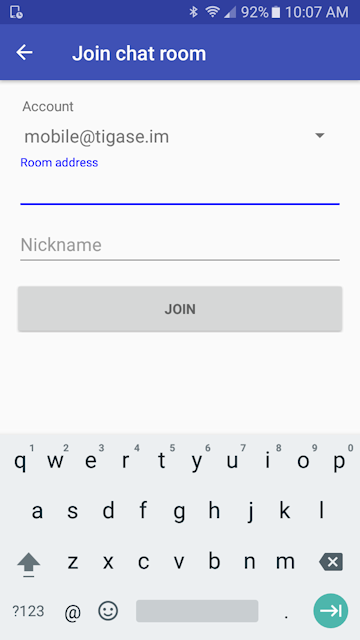
The chatroom should have a following format when joining: roomname@muc.server.com where muc.server.com is the multi-user chat component of the server.
Note
You must fill out the Nickname field in order to join a chatroom. MUC requires that you have a nickname that is separate from your Jabber ID (your user name).
1.4.5. Settings Menu
The settings menu can be found by tapping the menu icon on the top left and tapping Settings.
Status
These menu options determine whether and how automatic presence management will operate.
Auto Away presence delay
How long in seconds should the application wait after last activity to display an ‘Away’ status.
Auto Extended Away delay (after Away)
How long in seconds should the application wait after Auto Away has been set to change the status to ‘Extended Away’ or XA status.
Notifications
Contains settings on phone notifications and status updates.

Chats
New Message Notifications
Whether or not to trigger the phone’s notification mechanism when new chat messages are received.
Ringtone
Here you may set an application-specific sound to play when an XMPP chat notification is triggered.
Vibrate
Whether or not to vibrate the phone when a new chat message is received.
Groupchats
New message Notifications
Whether or not to trigger the phone’s notification mechanism when new groupchat messages are received.
Ringtone
Here you may set an application-specific sound to play when an XMPP chat notification is triggered.
Vibrate
Whether or not to vibrate the phone when a new chat message is received.
Accounts
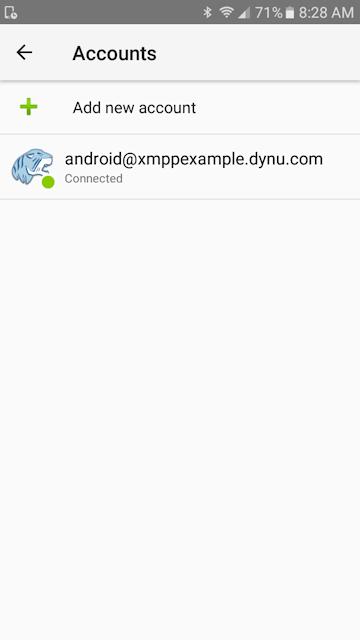
This display will show all currently setup accounts as well as provide a method to add new accounts to the messenger. You may also bring up this menu from the accounts section of your phone’s settings menu.
For More details about account management, see the Account Management section of documentation for more details.
About
Will display our logo along with the version of Tigase Messenger you are using.