You will be greeted by the following "About software" page.
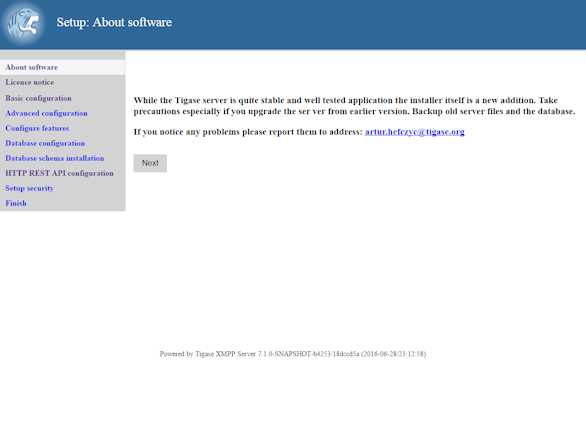
Read it and then click "Next"

Here is some information about our commercial products and licensing. Please read though the agreement, type your name or company and click "Next".
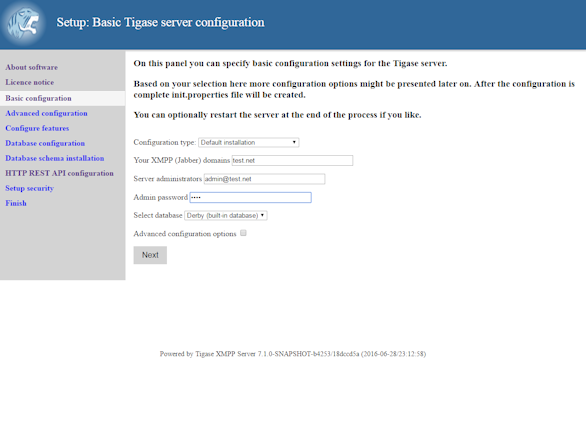
This page will look over your default configuration settings, these include the type, Domains you wish to use, and gives you a chance to specify an administrator for the domain. Also, you will be selecting what type of database Tigase server will be using.
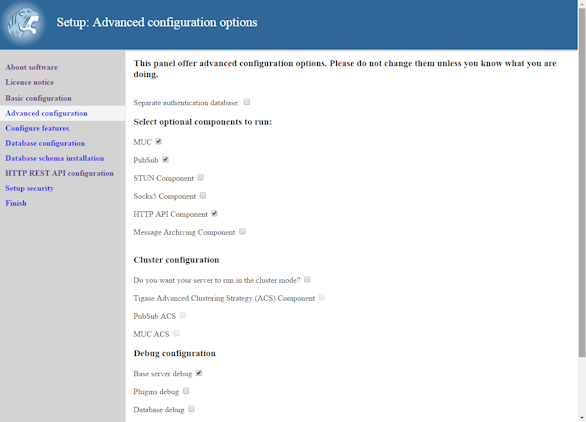
The Advanced configuration page. Select what components and configurations you need.
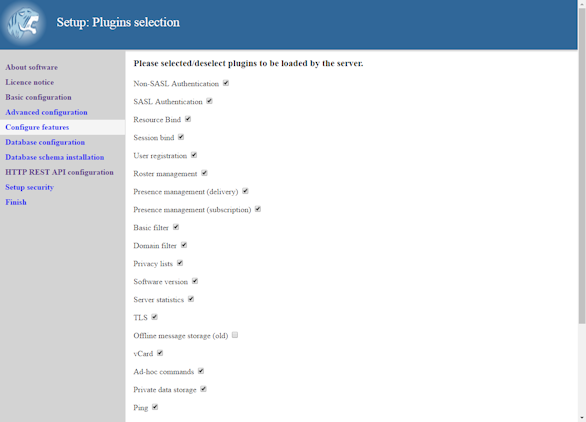
Plugins which will be loaded by the server, most plugins are enabled by default.
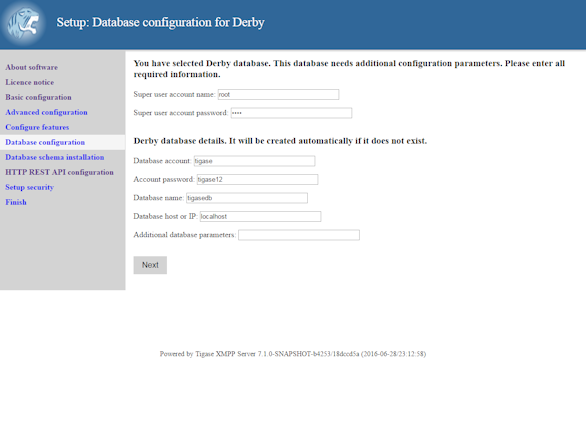
This is where the database schema is installed. BE SURE TO SPECIFY SUPER USER ACCOUNT AND PASSWORD
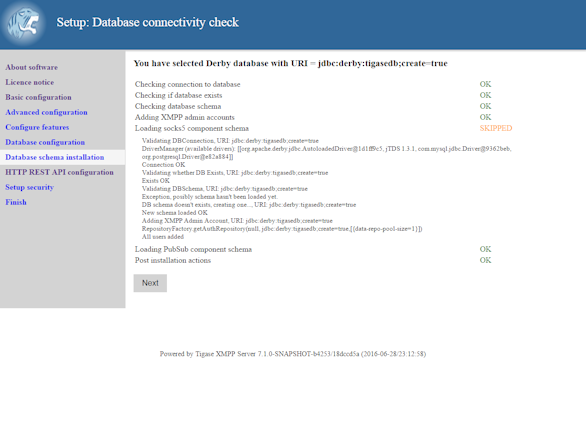
You should see a page like this after a successful database setup. This page will reveal any issues with your database setup such as invalid URIs, passwords, and schemas.

Next a page asking if you’d like to provide an API Access Key to access HTTP REST commands. It is highly recommended that you either specify an API key or block access. Open API keys allow any REST command to be interpreted by the server.
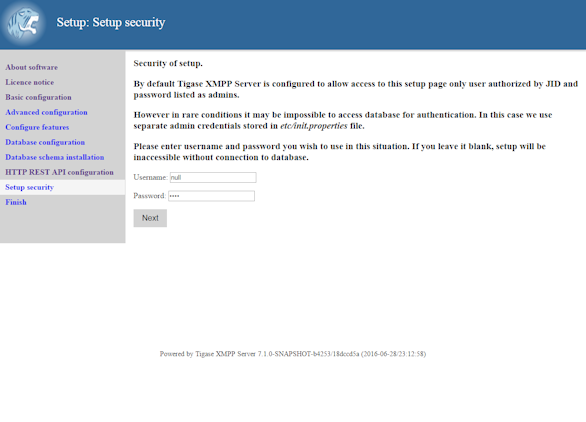
The Setup Access Page will be locked from the admin/tigase user as specified above. This is your chance to have the setup pages add a specific user in addition to admin accounts to re-access this setup process later. If left blank, only JIDs listed in admin will be allowed to access.
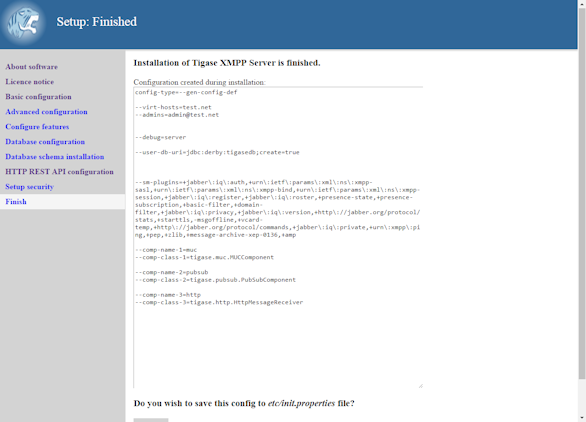
The installation is complete and this is what the init.properties file will look like. If you have a custom setup, or would like to put your own settings in, you may copy and past the contents here to edit the current init.properties file. Click "Save" to write the file to disk.
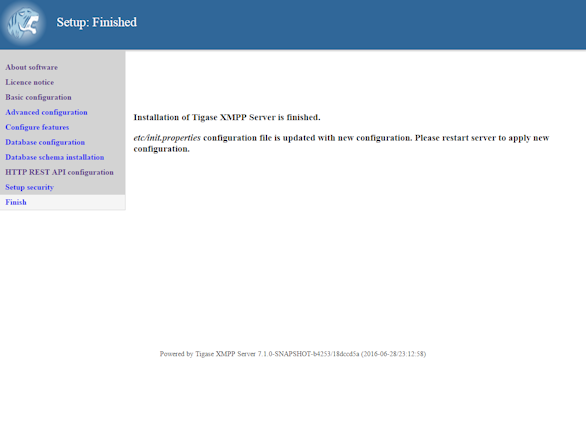
You have now finished the installation, proceed to the next step to restart the server.
