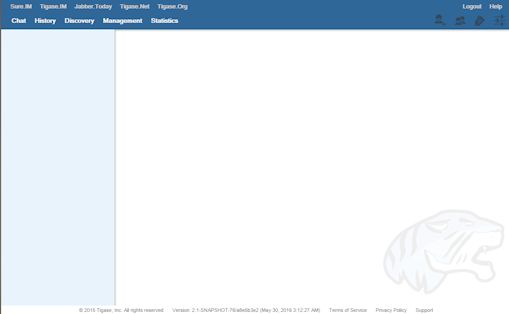
Tigase now has a fully featured XMPP client built right into the HTTP interface. Everything you would expect from an XMPP client can now be done from the comfort of your browser window with no software install required!
Lets walk through setup.
Tigase web client requires the Http.Message.Receiver plugin to be active. To enable this add the following lines to your init.properties file:
--comp-name-5:http
--comp-class-5:tigase.HttpMessageReceiver
NOTE: If you selected HTTP API to be enabled on setup, you already have everything you need. This sets up an HTTP server with the default port of 8080. See the HTTP API guide for component configuration.
To access the client, point a browser to the following address: xmpp.your-server.net:8080/ui/
It will ask you for a login, any bare JID of users registered with the server will work. NOTE: Use your bare JID for login
Once you have logged in successfully, you will be presented with the following screen.

The commands are broken into categories shown here. All changes made in these sections are instant and should be seen the same as if you were using an external XMPP client like Psi.
NOTE The BOSH client will automatically translate all requests to the server name. In some rare cases this may not be resolvable by the browser and you will be unable to login. Should that happen, you may disable that feature using the following line in your init.properties:
bosh/send-node-hostname[B]=false
You may have to specifically designate the bosh URL when using the advanced tag in the login screen.

